
Leveraging GitHub Pages for a Minimalist E-commerce Store

GitHub Pages is a simple, free way to create websites hosted directly on GitHub. For small businesses, entrepreneurs, or anyone wanting to test a concept, GitHub Pages offers a quick way to build a minimalist e-commerce site. This article explains how to set up a basic e-commerce site using GitHub Pages with the help of Jekyll or a headless CMS.
Why Use GitHub Pages for a Simple E-commerce Store?
- Free Hosting: GitHub Pages provides free, reliable hosting for small, static websites.
- Fast Setup: Ideal for small projects or MVPs (Minimum Viable Products) that need to get up and running quickly.
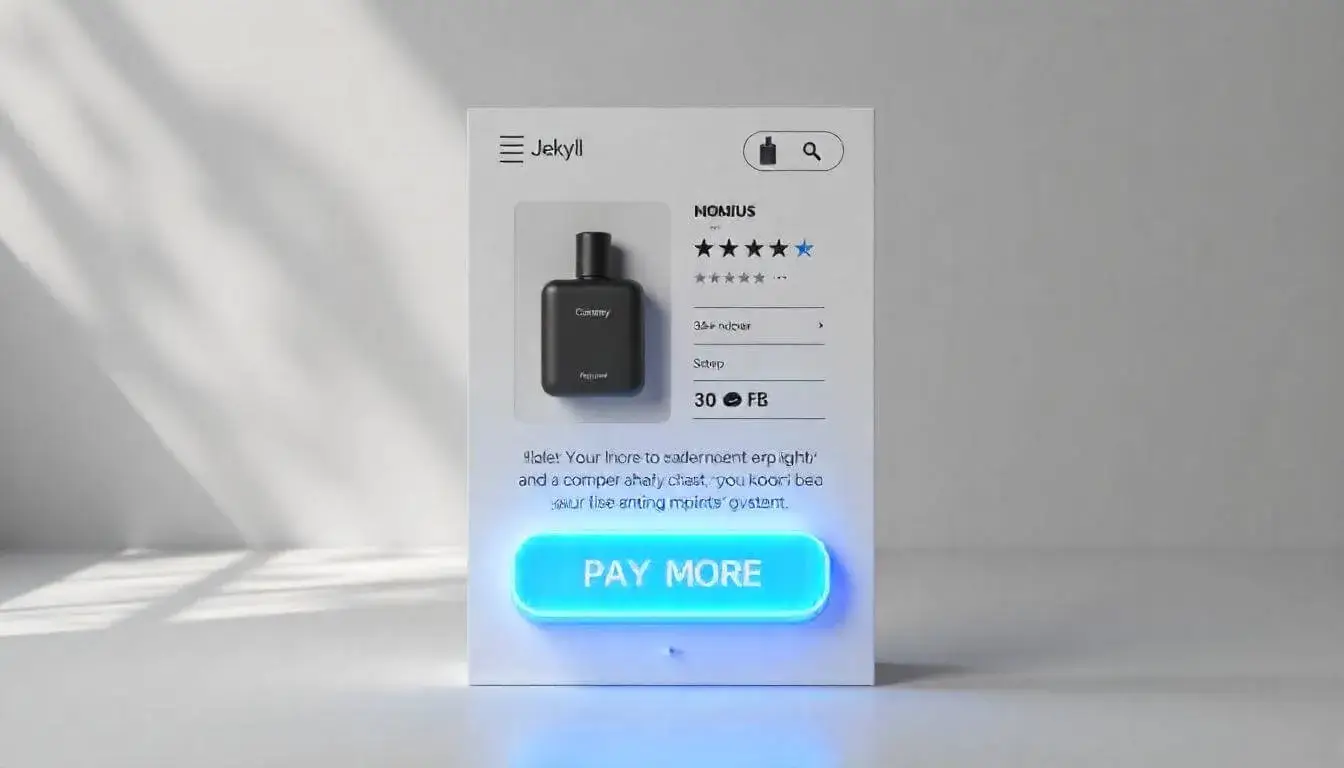
- Customizable with Jekyll: GitHub Pages integrates with Jekyll, a static site generator that lets you easily design and customize your store.
- No Server Management: You don’t need to worry about server setups, making it easy for non-developers.
Step 1: Set Up a GitHub Repository

- Create a New Repository
- Sign in to GitHub, click on
Newto create a new repository. - Name the repository (e.g., “minimalist-ecommerce-store”).
- Set it to
Publicand checkAdd a README file. - Click Create repository.
- Sign in to GitHub, click on
- Enable GitHub Pages
- Go to Settings in your repository.
- Scroll to Pages under the Code and Automation section.
- Under Source, select the main branch and click Save.
- Your site will be live at
https://yourusername.github.io/minimalist-ecommerce-store/.
Step 2: Install Jekyll Locally
Jekyll allows you to create a customizable website structure. GitHub Pages supports Jekyll, which makes it easy to set up your e-commerce store.
- Install Jekyll:
- Follow the instructions on Jekyll’s website to install it locally.
- Create a New Jekyll Site:
- Open your terminal and run:
1
jekyll new minimalist-ecommerce-store
- This will generate all necessary Jekyll files and folders, like
_posts,_layouts, and_config.yml.
- Open your terminal and run:
- Push Jekyll Files to GitHub:
- In your Jekyll site folder, initialize a git repository:
1
git init
- Add, commit, and push your files to GitHub:
1
2
3
git add .
git commit -m "Initial commit with Jekyll files"
git push -u origin main
- In your Jekyll site folder, initialize a git repository:
Step 3: Customize Your E-commerce Store Layout
- Edit Layout and Design
- Open the
_layoutsfolder in your Jekyll site directory and customizedefault.html. - Add sections for product listings, contact information, and any details specific to your store.
- Open the
- Add a Products Collection
Create a
_productsfolder in your site directory. For each product, create a Markdown file (e.g.,product1.md) with details like:1 2 3 4 5 6 7
--- layout: product title: "Product Name" price: $20 description: "Product description here" image: "/images/product1.jpg" ---
- These Markdown files will generate individual product pages for your site.
- Update Configurations
- Open _config.yml and set the site title, author, and any other details you want to display on every page.
Step 4: Add E-commerce Functionalities
A minimalist GitHub Pages store won’t have complex e-commerce functionalities (like checkout or inventory management) by default. However, you can integrate third-party tools to handle payments and orders.
- Embed a Payment Button
- Use third-party payment buttons, such as PayPal Buy Now or Stripe.
- For PayPal, go to PayPal Button Generator and create a “Buy Now” button.
- Copy the HTML code provided by PayPal and paste it into each product page.
- Link to an External Cart Service (Optional)
- Services like Snipcart or Shopify Lite allow you to add a shopping cart to a static site.
- Sign up for the service, generate the cart code, and embed it on your GitHub Pages site.
- Display Products with Jekyll Loops
- In your main layout, add a loop to display products dynamically:
1
2
3
4
5
6
7
8
9
10

  {% for product in site.products %}
    <div class="product">
      <h2>{{ product.title }}</h2>
      <p>{{ product.price }}</p>
      <p>{{ product.description }}</p>
      <img src="{{ product.image }}" data-echo="{{ product.image }}" alt="{{ product.title }}">
    </div>
  {% endfor %}
Step 5: Test and Deploy
- Run the Site Locally
- In your terminal, go to the site folder and run:
1
bundle exec jekyll serve
- Open a browser and go to
http://localhost:4000to preview your store.
- In your terminal, go to the site folder and run:
- Check for Issues
- Make sure all pages load correctly, images display, and payment buttons work.
- Deploy to GitHub Pages
- When ready, push all changes to GitHub:
1
2
3
git add .
git commit -m "Finalize store setup"
git push origin main
- Your GitHub Pages site will automatically update with your changes.
- When ready, push all changes to GitHub:
Step 6: Share and Update Your Store
- Share Your Store Link
- Your store is now live at
https://yourusername.github.io/minimalist-ecommerce-store/. - Share this link with potential customers on social media or through other marketing channels.
- Your store is now live at
- Update Product Listings
- To add or change products, simply edit the Markdown files in the
_productsfolder and push the changes to GitHub. - GitHub Pages will automatically rebuild the site with your latest updates.
- To add or change products, simply edit the Markdown files in the
- Expand Features Over Time
- If your store grows, consider moving to a more robust e-commerce platform or adding more functionality with a headless CMS.
Conclusion
With GitHub Pages, you can set up a minimalist e-commerce store that’s perfect for MVPs and small-scale projects. Here’s a quick recap of the steps:
- Set up a GitHub repository and enable GitHub Pages.
- Use Jekyll to create and organize your store’s layout.
- Customize product pages with individual Markdown files.
- Integrate simple payment solutions, like PayPal buttons.
- Test locally and deploy to GitHub Pages for a live site.
GitHub Pages is a free, straightforward solution that provides just what you need for a basic e-commerce site.
Related Posts
How Electronic Commerce (E-Commerce) is Transforming Retail in 2025 Why Ecommerce Business Is the Best Startup Option Today Shopify Website Builder vs Competitors: Which One Wins? Top B2B Ecommerce Solutions for 2025: Powering Your Business Growth Top 10 eCommerce Web Design Agencies in 2025: Who’s Leading the Game?


Leave a comment