
Building a Headless E-commerce Storefront: GitHub as Your Collaboration Hub
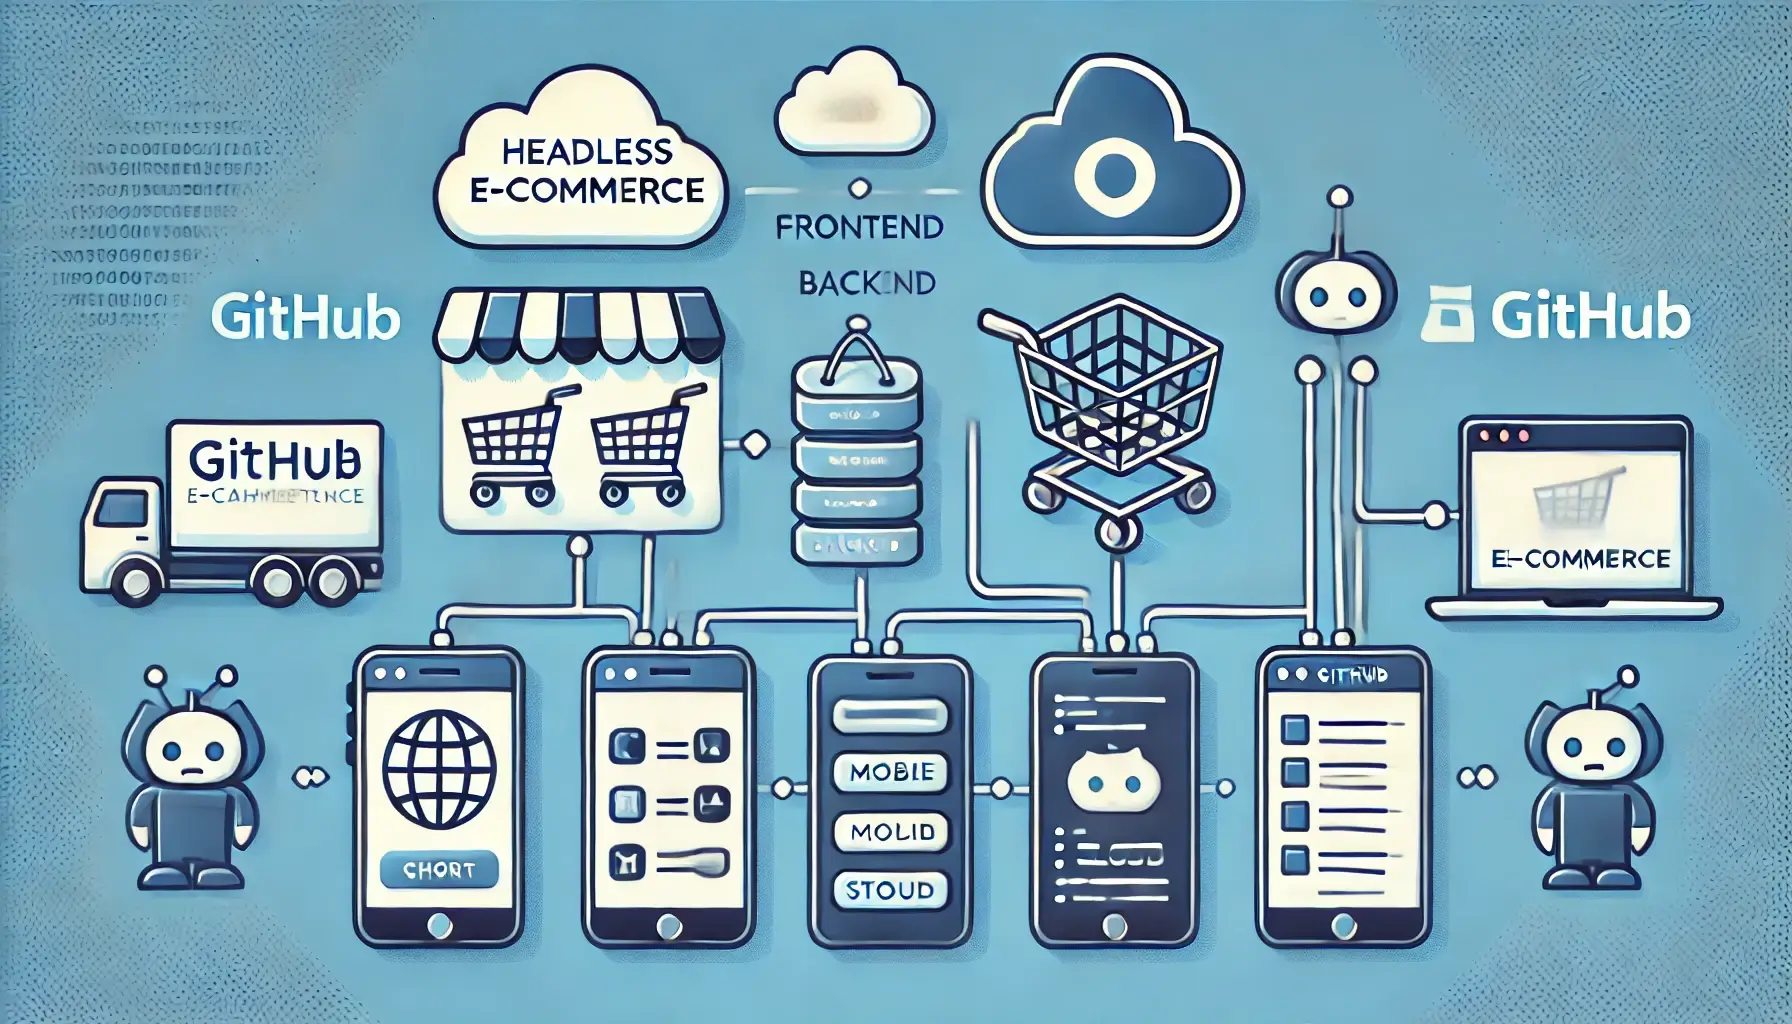
E-commerce is constantly evolving, and headless architecture is becoming one of the most popular choices for online stores. A headless e-commerce storefront separates the front end (the part customers see) from the back end (the part that manages products, orders, etc.). In this guide, you’ll learn how to set up a headless storefront and how GitHub can help your team work together smoothly.
Why Headless Architecture?
Traditional e-commerce platforms combine the front end and back end, which can make it difficult to customize the user experience. Headless architecture solves this by allowing the front end and back end to be developed independently. Here are some benefits:
Better Customization:You can design a unique front end without being restricted by the limitations of a full-stack e-commerce system.Faster Performance:Headless setups can be optimized for speed, making sites load faster.Multi-Channel Flexibility:A headless setup can serve multiple platforms, like web, mobile, and even IoT (Internet of Things) devices, all from a single backend.Easier Scaling:As your store grows, you can scale specific components without disrupting the entire system.
By separating the parts of your e-commerce store, a headless setup can offer a more tailored experience for customers and a smoother workflow for your team.
Why Use GitHub as a Collaboration Hub?
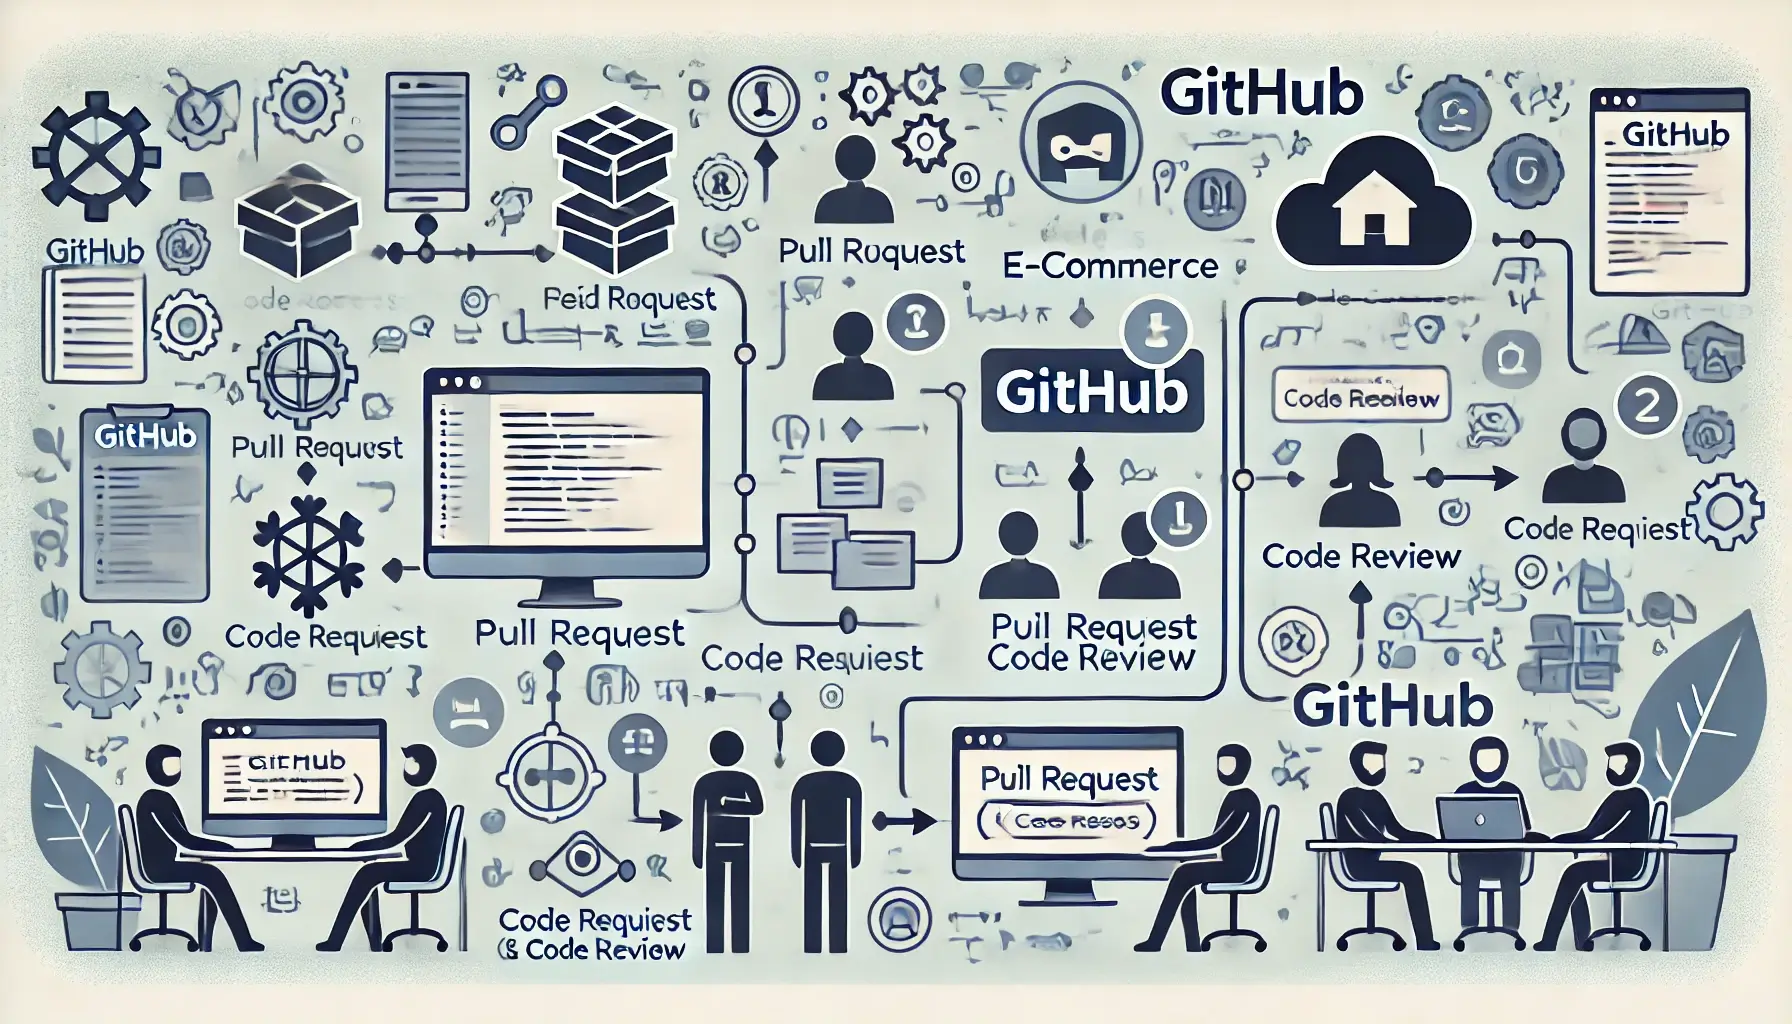
When building a headless storefront, several team members work on different parts of the project. This is where GitHub becomes invaluable. GitHub is a platform that allows developers to share, review, and manage code. Here’s how GitHub supports collaboration:
Centralized Code Storage:All team members can access and update the code in a single place.Version Control:GitHub saves every version of the code, allowing you to revert changes or track who made them.Collaborative Tools:GitHub offers features like pull requests, issues, and code reviews, which make it easy for developers to discuss and improve the code together.Continuous Integration:GitHub Actions (a feature in GitHub) can automatically test, build, and deploy code whenever changes are made, ensuring that the code is always ready.
With GitHub as your hub, your team can work efficiently, track progress, and avoid common pitfalls like code conflicts or lost work.
Step-by-Step Guide to Building a Headless E-commerce Storefront
Let’s dive into how you can build a headless storefront and use GitHub for collaboration. We’ll break this down into five key steps.
Step 1: Set Up the Backend
The backend is where you’ll manage products, orders, users, and other data. Popular options for a headless backend include:
Strapi:An open-source headless CMS (Content Management System).Shopify Plus:A headless e-commerce solution with a powerful API.Magento:A widely-used e-commerce platform with headless capabilities.
Steps to Set Up the Backend:
Choose a Backend Platform:Select the platform that suits your needs based on features, budget, and scalability.Install and Configure:Set up the backend on a server or hosting provider and configure it according to your store’s requirements.Set Up API Endpoints:APIs allow the frontend to communicate with the backend. For example, create endpoints for products, orders, and user information.Test the API:Use tools like Postman to test the API endpoints and make sure they return the correct data.
Step 2: Set Up the Frontend
The frontend is the customer-facing part of your store. Popular frontend frameworks for headless e-commerce include:
Next.js:A React-based framework that offers fast performance and SEO-friendly features.Gatsby:A static site generator that works well with headless CMS.Vue Storefront:A platform-agnostic frontend framework built on Vue.js.
Steps to Set Up the Frontend:
Create a New Project:Use the chosen framework’s CLI (command line interface) to create a new project.Connect to the Backend API:Use the API endpoints from the backend to display products, handle orders, etc.Design the Store:Customize the layout and styling of your site to match your brand.Test the Frontend:Run the frontend locally and make sure it pulls the correct data from the backend API.
Step 3: Set Up a GitHub Repository
Now that the backend and frontend are set up, let’s bring GitHub into the process to manage and collaborate on the code.
Steps to Set Up the Repository:
Create a New GitHub Repository:Go to GitHub and create a new repository. Name it something descriptive, like my-headless-storefront.Push Code to the Repository:Use Git commands to push your backend and frontend code to the GitHub repository. You can create separate folders in the repo for each part (/frontend and /backend).Invite Team Members:Go to the repository settings and add collaborators (your team members), allowing them access to the code.
Step 4: Collaborate Using GitHub Features
With the code in GitHub, you can now start collaborating effectively with your team.
Collaboration Tools to Use:
Branches:Each team member should work on their own branch. This keeps the main codebase clean and lets developers test new features without affecting others.Pull Requests:When someone finishes a feature, they can create a pull request. This allows other team members to review and discuss the changes before merging them into the main branch.Issues:Use GitHub’s Issue tracker to assign tasks and report bugs. Each issue can include comments, labels, and assignees.Code Reviews:Team members can review each other’s pull requests to ensure quality and share insights.
Step 5: Set Up GitHub Actions for Automation
GitHub Actions can automate tasks like testing and deployment, making collaboration smoother.
Steps to Set Up GitHub Actions:
Create a Workflow File:In the GitHub repository, go to the Actions tab and set up a new workflow (usually a YAML file named main.yml in the .github/workflows folder).Add Automated Tests:Set up GitHub Actions to run tests whenever code is pushed. This ensures that any new code works correctly before being merged.Deploy Automatically:If you’re using a hosting service like Netlify, Vercel, or AWS, you can set up GitHub Actions to deploy changes automatically after they pass testing.
Example Workflow Code for GitHub Actions:
1
2
3
4
5
6
7
8
9
10
11
12
13
14
15
16
17
18
19
20
21
22
23
24
25
    name: CI/CD Pipeline

        on:
        push:
            branches:
            - main

        jobs:
        build-and-deploy:
            runs-on: ubuntu-latest

            steps:
            - name: Checkout Code
            uses: actions/checkout@v2

            - name: Install Dependencies
            run: npm install

            - name: Run Tests
            run: npm test

            - name: Deploy to Netlify
            run: npx netlify-cli deploy --prod
            env:
                NETLIFY_AUTH_TOKEN: $
This example automatically checks out the code, installs dependencies, runs tests, and deploys to Netlify if everything passes.
Conclusion
Building a headless e-commerce storefront provides flexibility and customization that’s hard to achieve with traditional platforms. By using GitHub as your collaboration hub, your team can work together efficiently, test and review code easily, and deploy updates automatically.
With this guide, you’re ready to set up your own headless store and make GitHub the central hub for your development team’s work. Happy coding!
Related Posts
Automating E-commerce Testing with GitHub Actions and Selenium Using GitHub Actions for E-commerce SEO Audits How to Use GitHub’s Community Features to Gather Feedback on E-commerce Features Best Practices for Collaborative E-commerce Development on GitHub Deploying a Scalable E-commerce Backend with GitHub Actions and Docker


Leave a comment